I’ve wanted to start a cutting garden for years now but our existing landscape has always required so much of us. Especially so, considering the minimal weekend nap times we’ve had to focus on getting it done ourselves. Now that our boys are a bit bigger, more independent, and one boy in particular is out of the colic–no-sleep-rollercoaster-ride that was last summer (oh, Everett!) this summer felt like the perfect season to dig in; literally and metaphorically! I may just have been bit by the gardening bug.
Now a few notes!
ONE: While I am a floral designer by trade, gardening is a whole new world. As a florist I take already beautiful full grown flowers and turn them into an even more lovely end product. Taking a seed the size of a pinhead and helping it slowly grow and bloom into the very end product I’m used to just starting with, is quite different. And perhaps the very part of gardening that so many find to be fulfilling!
TWO: I try to be very cognizant of projects and hobbies that will either require a lot of supplies and ‘stuff,’ or have a steep learning curve not worth my time. Soap making falls into the ‘lots of supplies and stuff, with a steep learning curve’ camp BUT it’s worth my time. Gardening came close to not making the ‘worth my time’ cut but in the end I decided the slow process would be beneficial and exciting for both Lachlan and me, not to mention yield us with hopefully beautiful end results.
THREE: I’ve heard that part of the fun in gardening is learning to relish in your mistakes. I don’t enjoy making mistakes but already have made many, and guess what? I’m still alive and well! If you’ve been reading for a while you’ll know one of my most treasured mantras is that there’s a best way for everything instead of a right or wrong way. And how true this is for gardening! I’ve been gathering a lot about others’ best ways and applying them to our own process, learning what works and what doesn’t.
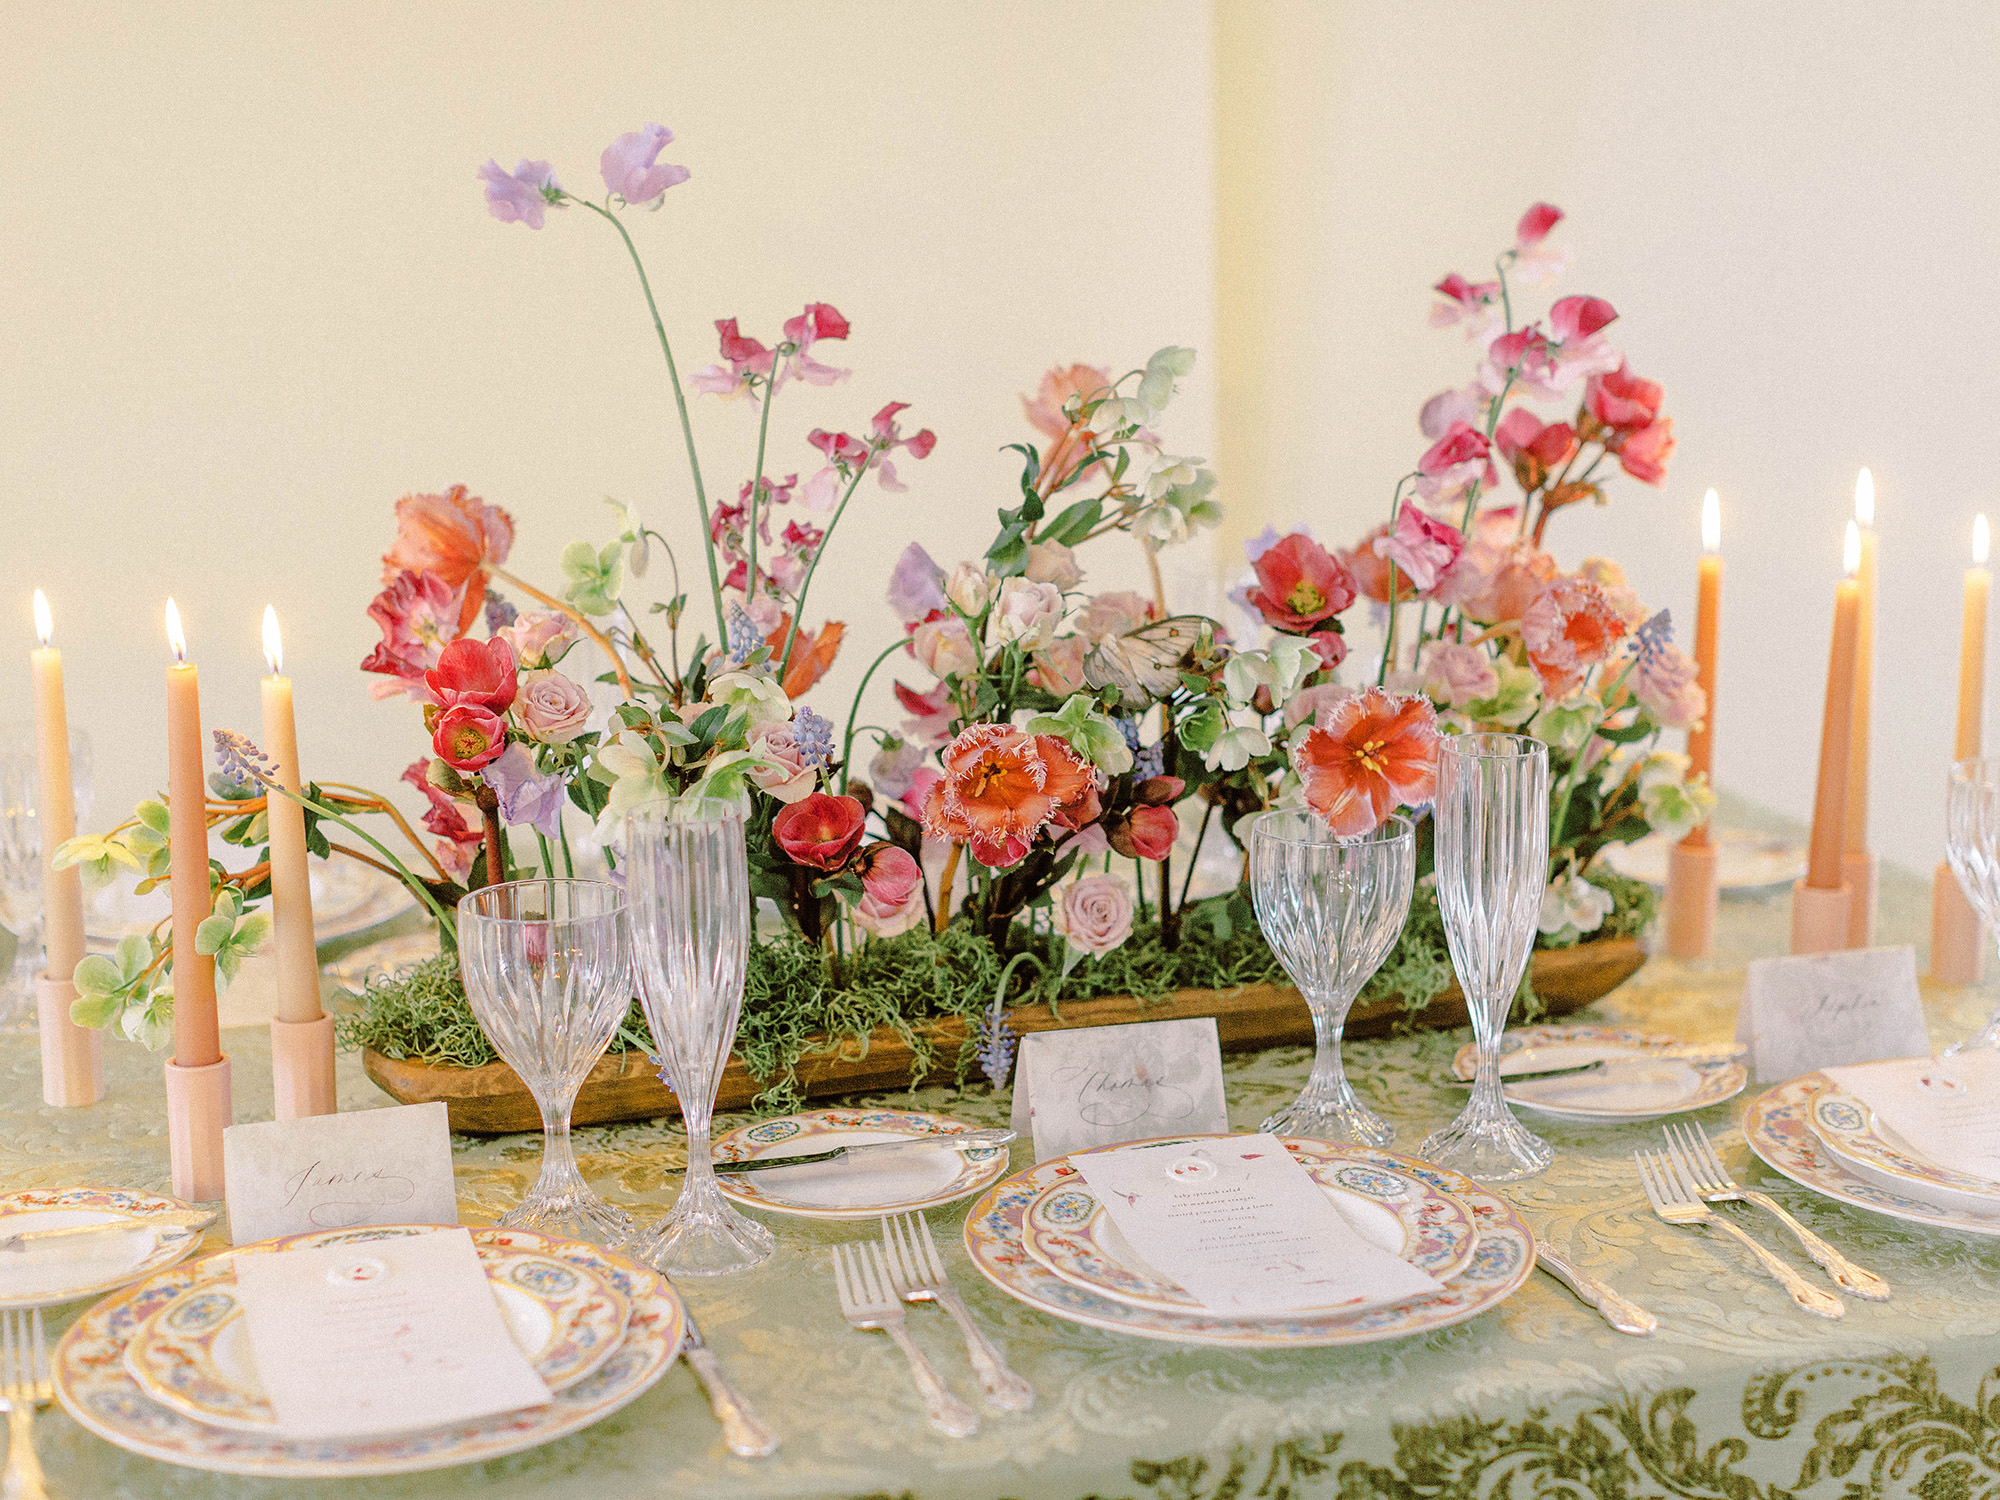
With that being said, here’s more about what we have done so far in our gardening journey, an adventure I hope to blog more about as the process unfolds throughout the summer. If you’re interested in more about our yard landscape where we have mostly perennial plants and flowers (like more than a dozen huge peony plants!) that post is over here. And our backyard update post is here!

Let’s get started!
The first step I took was to figure out what type of garden we wanted because it seems like there are endless options (e.g. herb garden, flower garden, butterfly garden, started garden, combination gardens) and doing them all felt impossible. I wanted to plan for a garden that had a high rate of success, wouldn’t cost a fortune, and more importantly, would work with our current landscape situation and amount of sun we receive, something that sort of narrowed down our options to begin with! Removing or altering any existing landscape was out of the question so this limited us to only a couple spots where a full-sun garden could go.
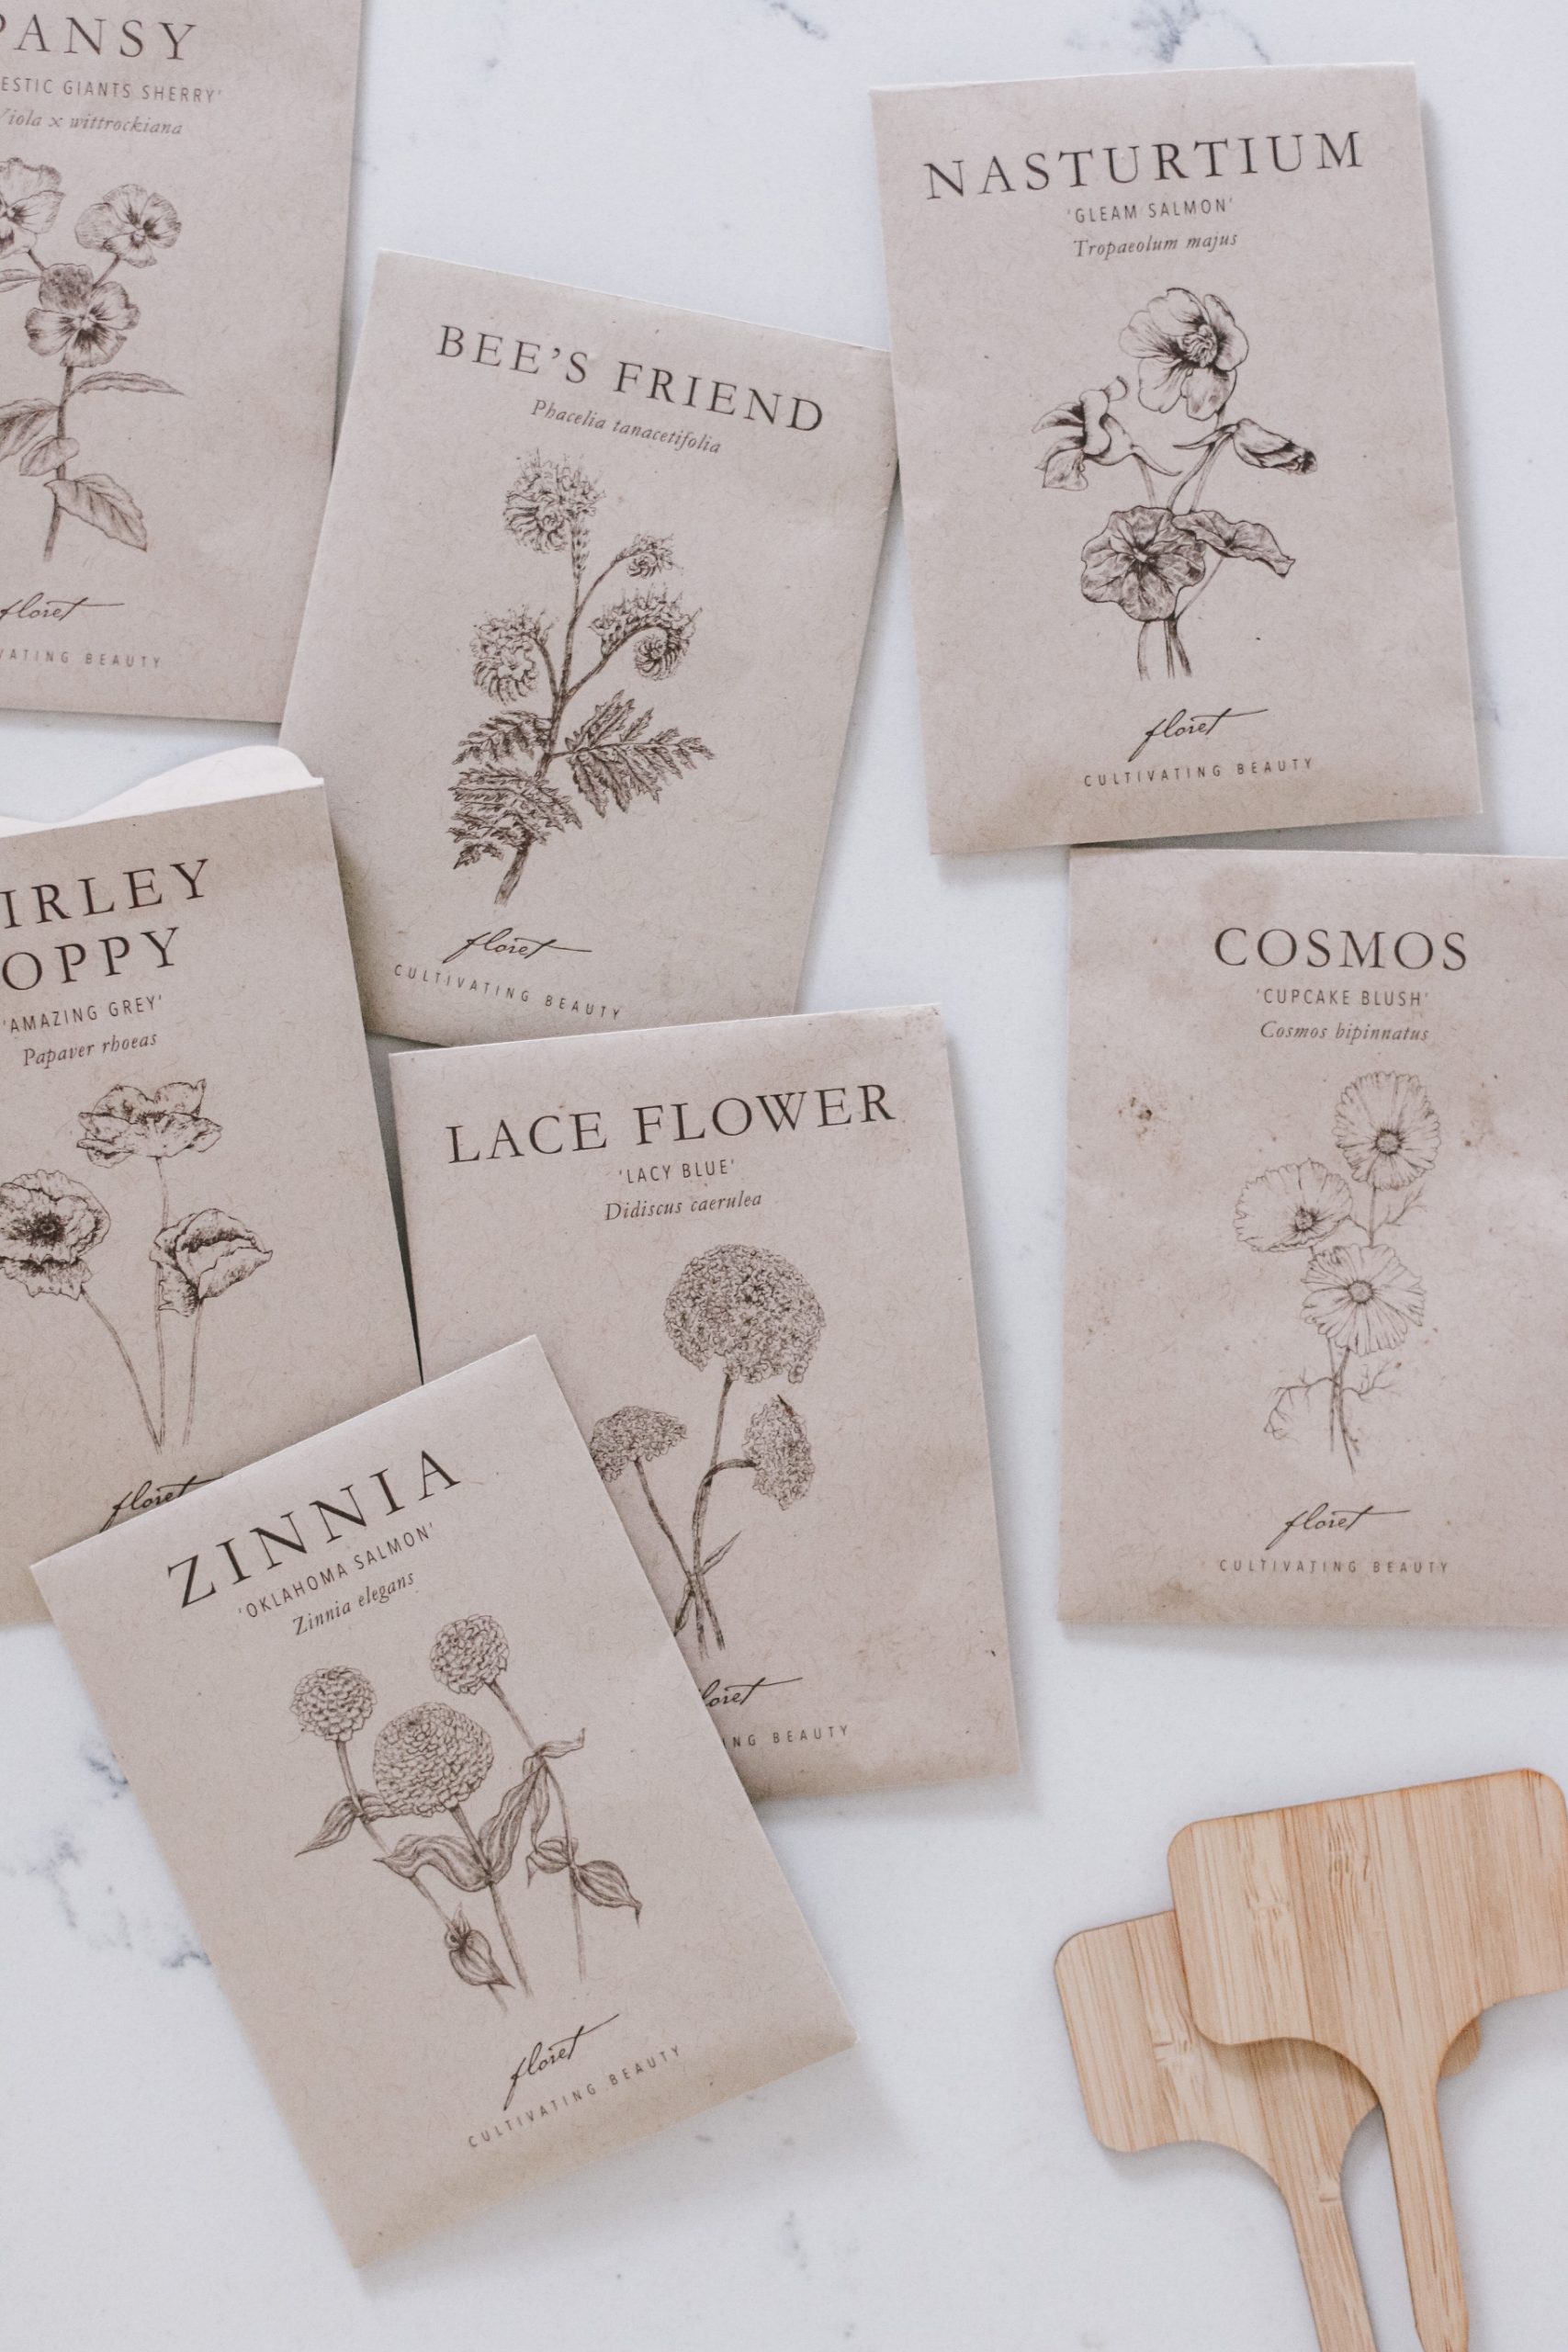
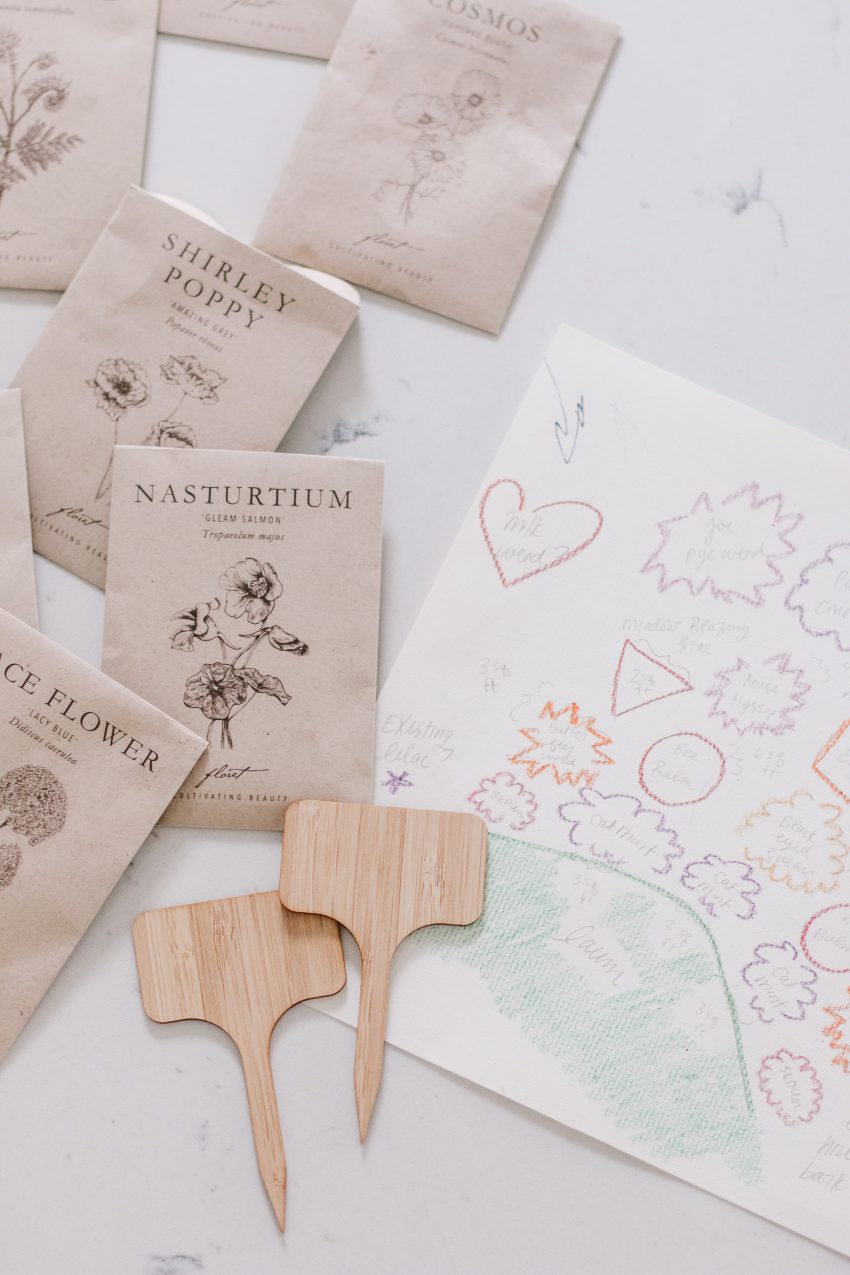
A vegetable garden sounds like a nice future project and we already plant potted herbs on our back porch so cutting garden it was! This was exciting because I finally invested in my friend Erin’s Floret seeds, a highly curated of heirloom flowers and foliage.
And so that’s where I went to collect a lot of information about how to start sowing seeds the right way. The Floret blog has a bevy of resources for free and I tried to read as much as possible before getting started, especially this post here.
Some items I purchased before sowing our seeds:
• A selection of heirloom seeds that I’d most want to cut come harvest time. Next year I’ll have my alarm set for launch day!
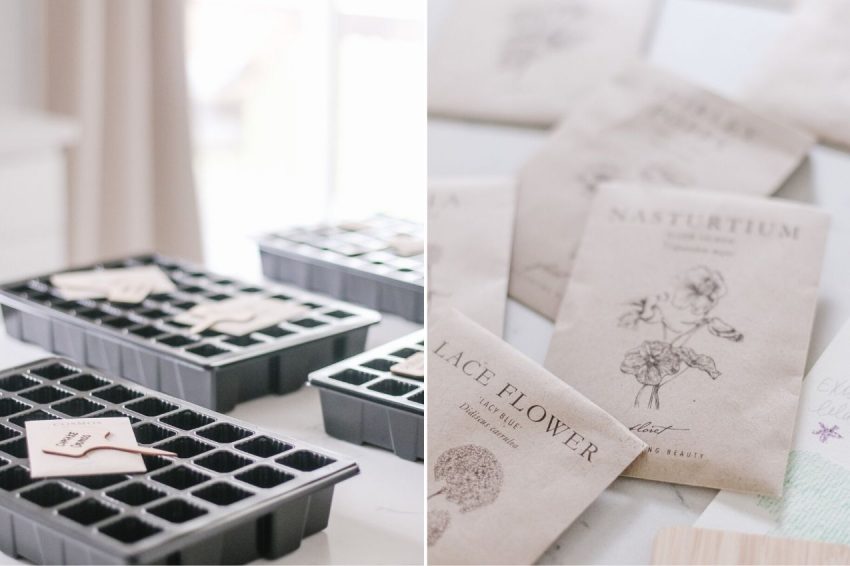
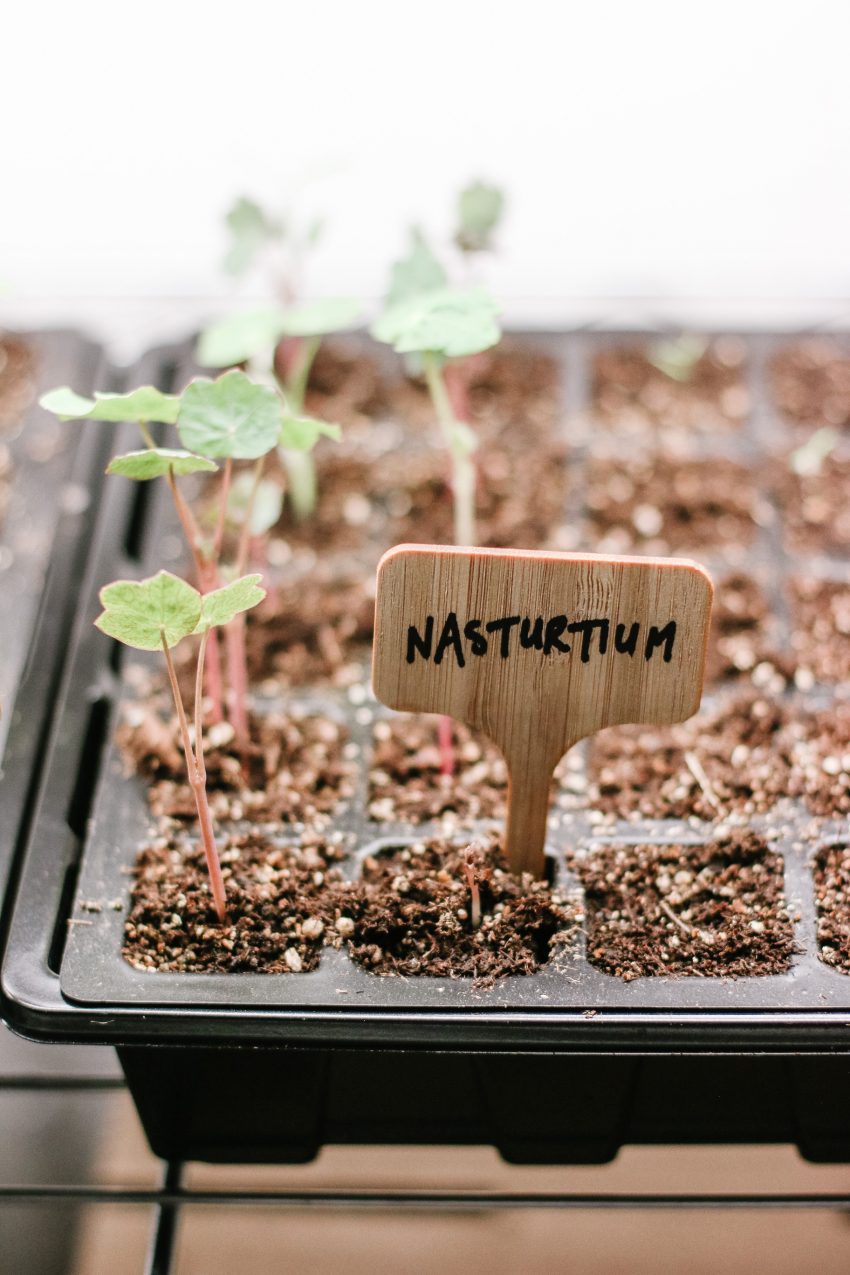
• Bamboo markers (they are beautiful but not functional for the germination process of seed sowing; they got moldy under the domes).
• This seed tray set, which we plan to reuse for years to come!
• A waterproof seed starting heat mat (wish we got more of them!)
• Organic seed starter potting mix
• Vermiculite
• Yet to be constructed but after much deliberation this garden bed

We did our best to follow Erin’s seed starting tips to the T! I realize there are endless ways to successfully sow seeds – in SOLO cups or egg cartons, directly into the ground outside, with homemade compost, on your kitchen counter by a window – but I wanted to make sure I followed Erin’s advice and steps closely so if I hit any snags it would be easier to troubleshoot them!
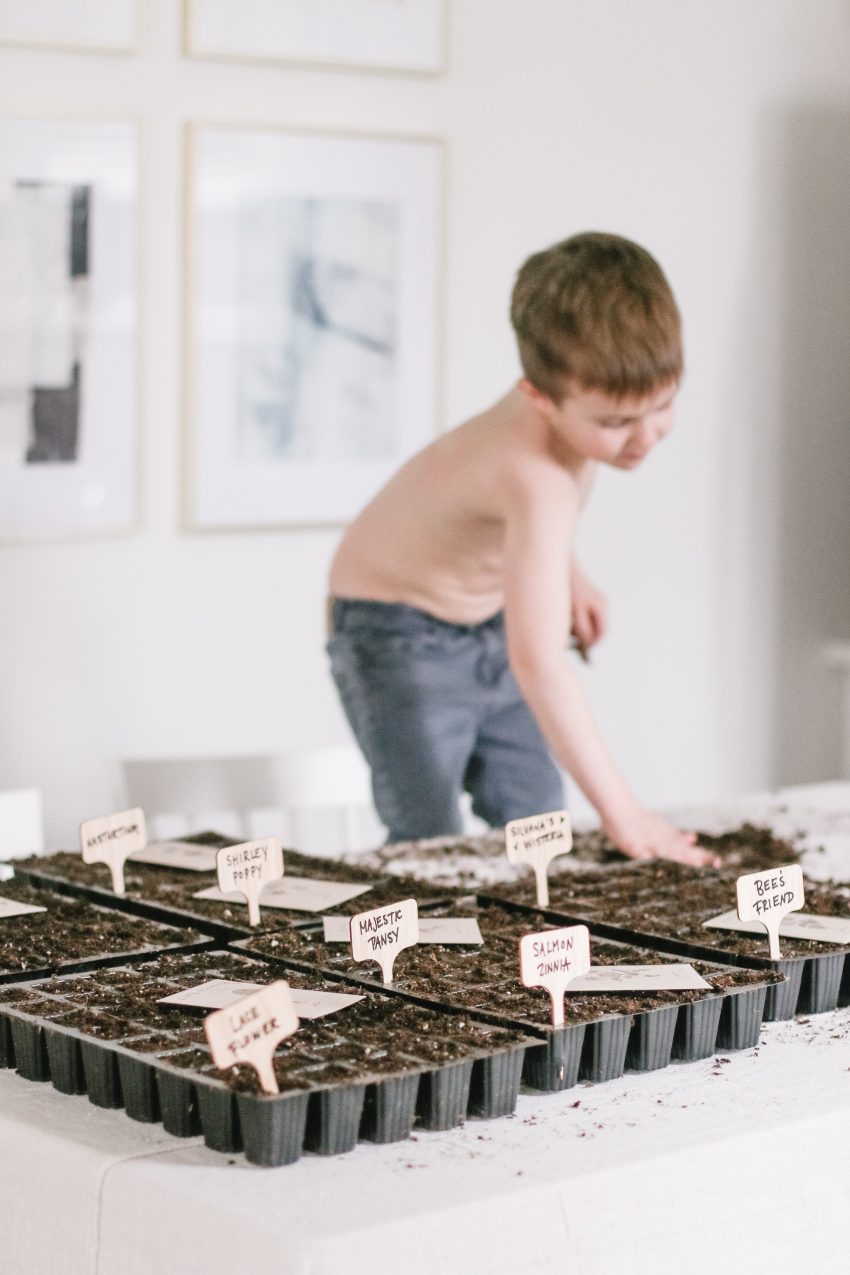
Because it’s still a little chilly here and the week we started our seeds it was too cold to do this outside, we tackled this as an indoor project for Lachlan to help with. I put a large canvas drop cloth over our kitchen island and set Lachlan up to fill the trays with our moistened seed starter potting mix. He was apprehensive at first but then loved getting all of the dirt into those tiny holes as best he could. I went behind him and made sure each was packed well. Then after letting him try to make a few holes into the soil in each well, I took over that job along with actually putting the tiny seeds into each. I was shocked to see how minuscule some of the varieties are!
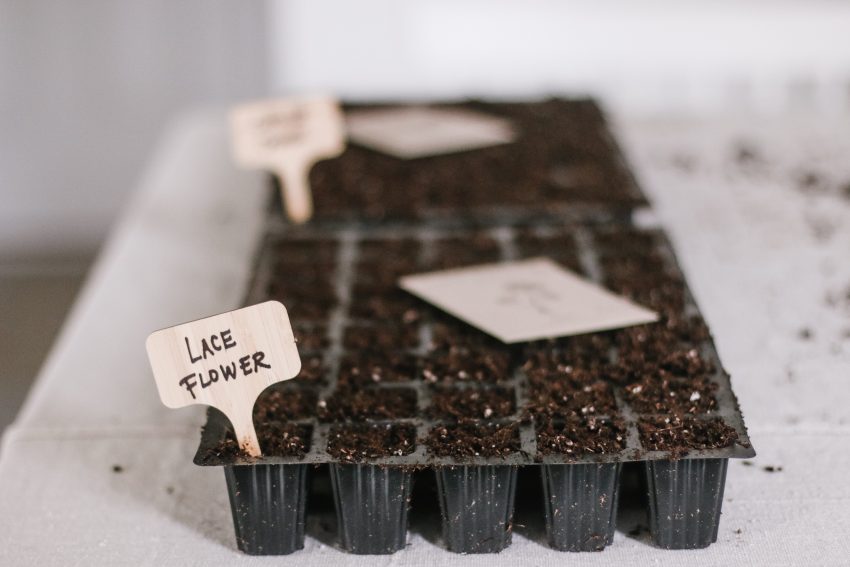
I tried to organize my five trays and eight seed varieties by like-germination days but have already learned, perhaps the hard way, that it’s never smart to put two different types of seeds in one tray because you may hinder one type from growing properly if you’re doing something different with the other. I will definitely consider investing in more seed starting trays for future gardens!
After wicking up their first drink of water, the trays sat covered under their domes on a warming rotation so the heating mat got to every tray. The mat I purchased is only large enough to fit two trays side by side so, much like a newborn’s feeding schedule, I rotated the trays religiously until we found our first sprouts just 48 HOURS after sowing them! Then those two early sprouting trays (our zinnias, cosmos, and nasturtium) were unveiled and placed under our makeshift lighting set up, which is basically a fluorescent tube light fixture hung from the metal shelves of one of my soap racks. The light hangs directly over my seed trays. Like so!
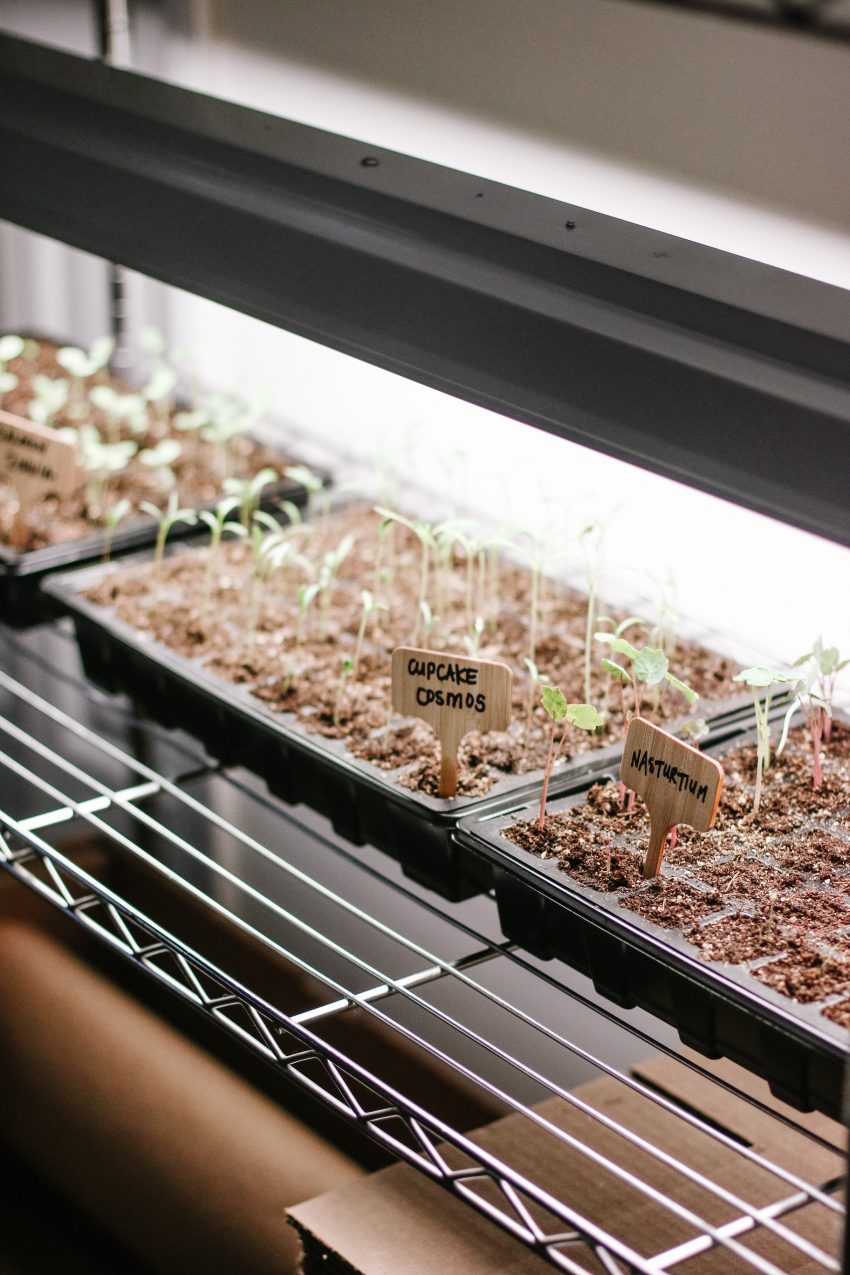
We currently have three trays under the lights for 12 to 14 hours a day, and they are doing exceptionally well! The remaining two are sitting on the warming mat still, with domes on, and a heat lamp over them. They are taking a little longer to burst through the soil as strongly as the others (they look a little, as the pros would say, ‘leggy’) but I still have hope for them, especially since one of the seeds we planted is a personal heirloom seed from the wisteria plant that we had at our childhood home.
We also hope to tackle one remaining area of our landscape with a perennial butterfly and hummingbird garden.
Some of you asked about that on Instagram so I hope to cover that more in a future post once it’s warm enough to get new plants outside into the Michigan ground. It’s going to be a beautiful early summer project to keep us busy while also giving our landscape extra longterm beauty! Want a peek? I did a highly professional rendering of our proposed plans with pencil and crayon.
Phew! That’s it for this first instalment!
Share all of your gardening adventures, tips, tricks, mistakes, and fun below. Xo