
Are you an RBC newsletter friend?
If so, thank you! You should have received a message last weekend packed full of my favorite flower designing tips.
Flower designing is interesting. On one hand it can be a simple and leisurely endeavor with little margin for error. Flowers are such a beautiful stand alone medium it’s really quite hard to make anything unpleasing. Now, on the other end of the spectrum, to those with certain aesthetic styles or for floral and event designers, flower designing can be an intricate and even stressful process. There are hundreds of techniques and approaches to take, let alone a whole world of mechanics that takes time to learn about. The logistics of flowers, ordering, pricing, packing, shipping, setting up – some of the things that come with professionally providing flower services – are a big part of business. But the designing part is still just as rewarding as I imagine it would be for a designer working with flowers in more of a professional capacity, as it is for a hobbyist.
So with that being said, I wanted to share some of my designing tips. I believe these are tips both beginners and seasoned designers can apply to their hobby, business, approach and designs. I hope you find them helpful!
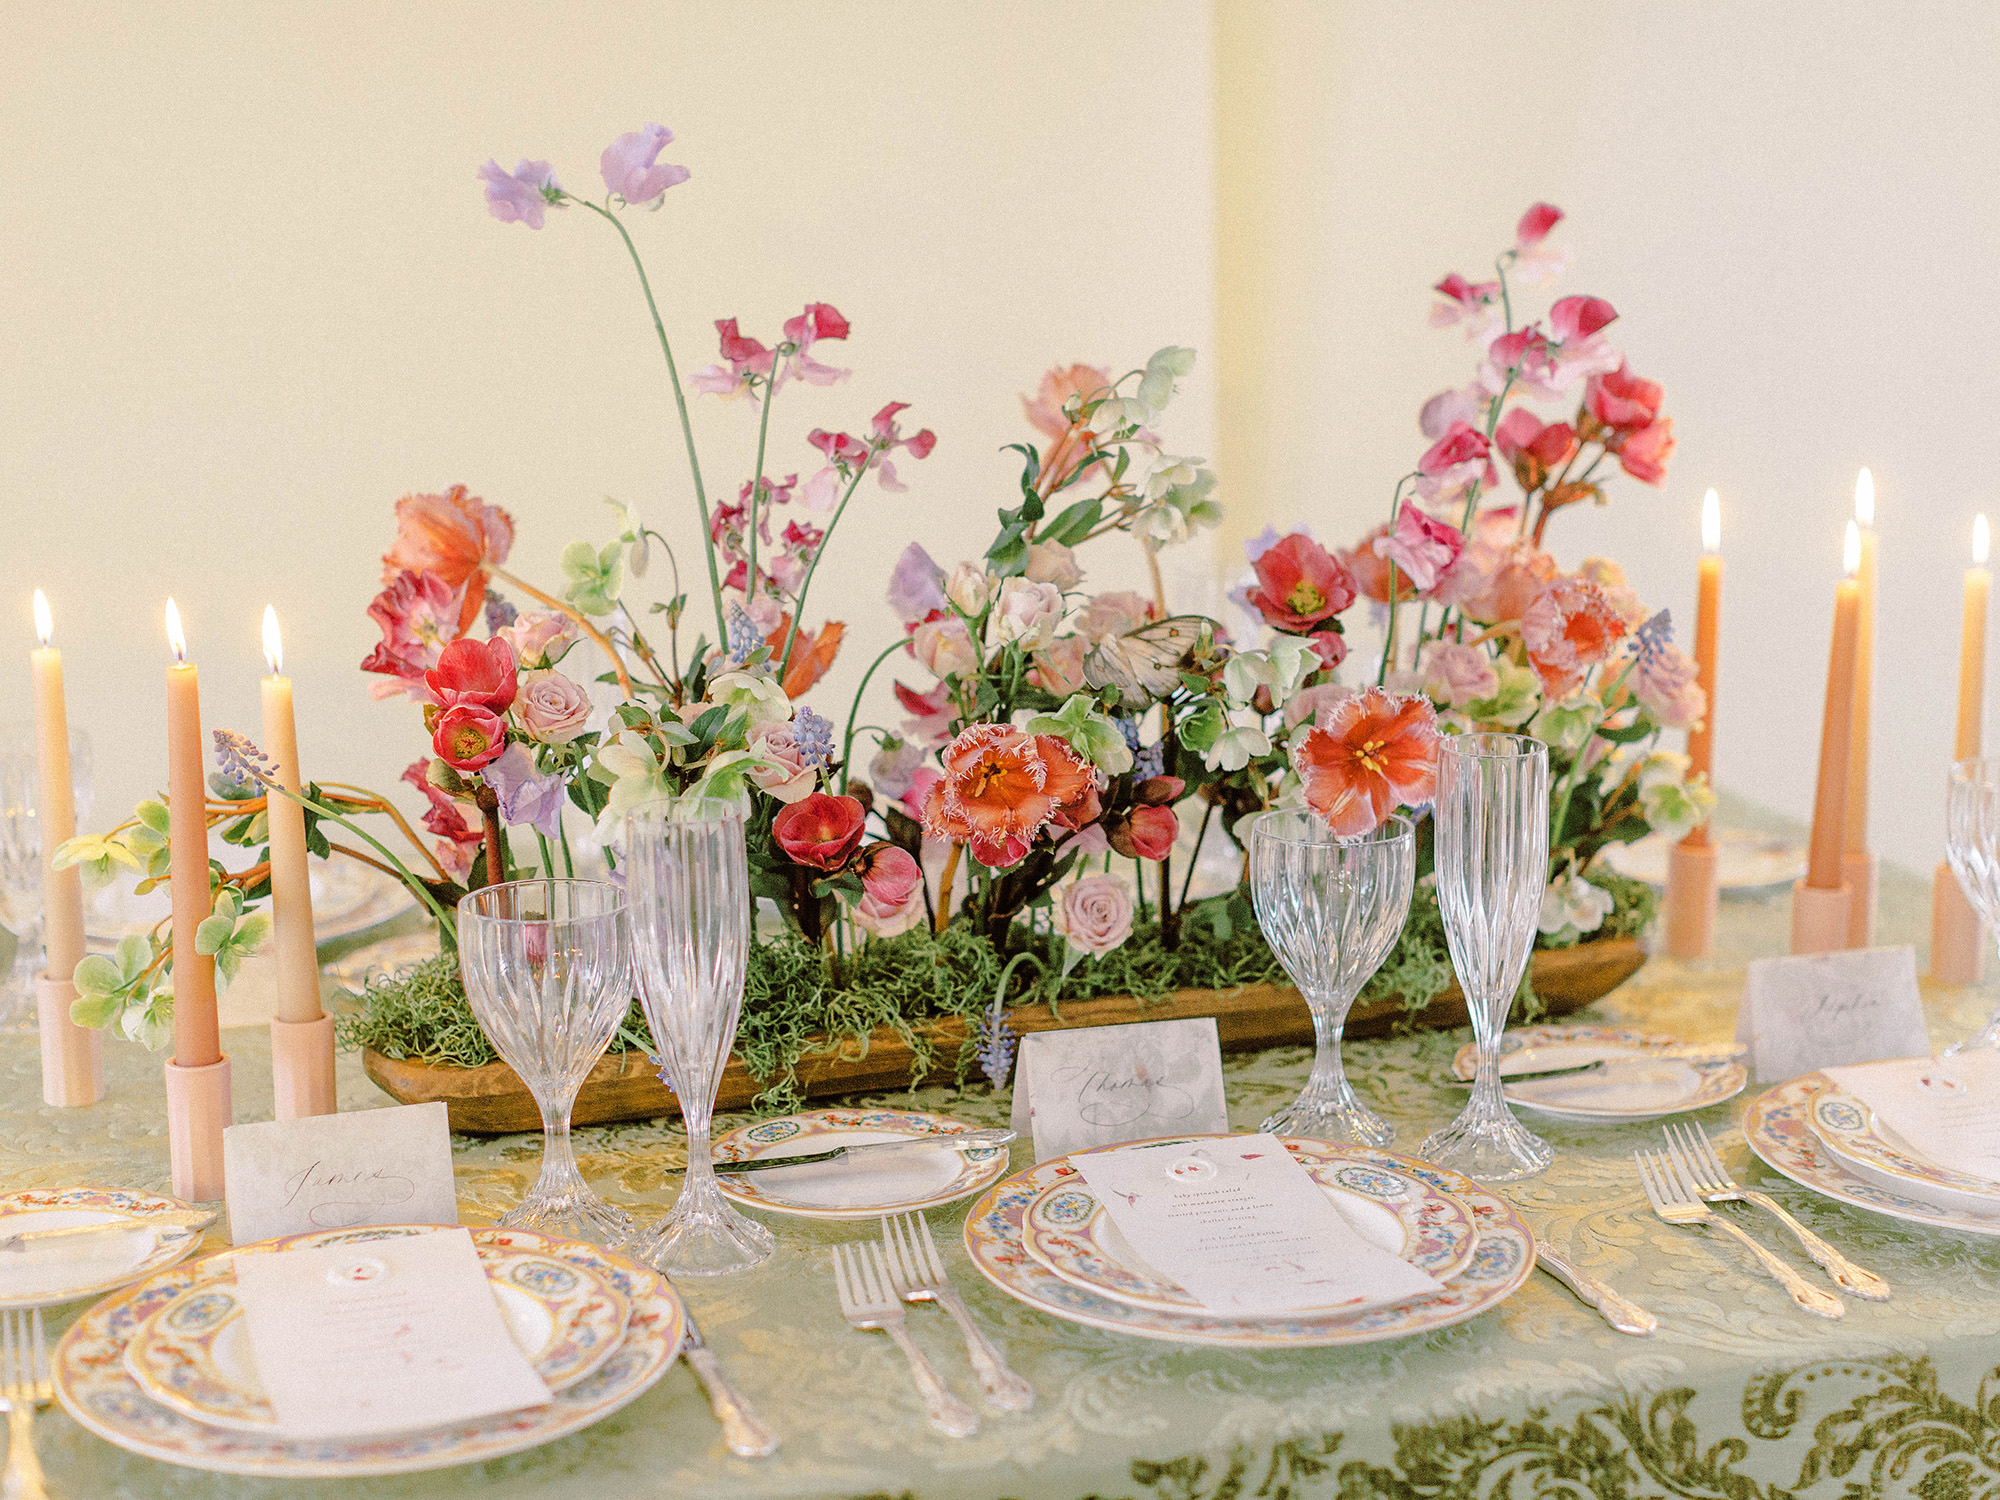
1. Designing with floral foam is a topic for another day so for the sake of today’s post I’m going to share how I design with a floral frog and two strips of Oasis floral tape. A floral frog – heavy, round metal piece with sharp spikes coming out of the top – is a supply used in older styles of designing. It’s also an environmentally friendly alternative to foam. Attached to the bottom of the vase with a little Cling, it acts similarly to floral foam, holding the stems of flowers in place at the bottom of the vase. I use frogs mainly to form the starting shape of my arrangement because once enough has been added to the arrangement the frog’s spikes on the surface are entirely used up and the stems of everything in the arrangement are enough of a grid to continuing holding my design in place. Two strips of tape are used across the opening of the container, sitting in an X pattern to give me four separate quadrants to design in. This is always enough to give me the foundation I need to design with.
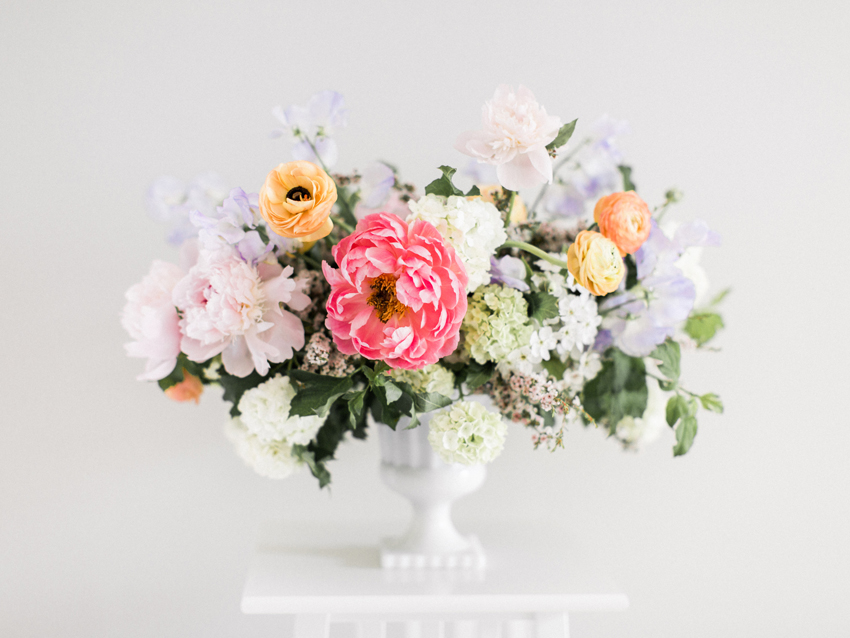
2. To ensure there’s visual interest in my arrangements, I always like to include THREE main elements in my designs: 1. Ample greens or a foliage type of flower/branch (like the green snowball viburnum used here), 2. Statement flowers (like a peony, garden rose, or dahlia), and 3. Fillers and interesting final touches (sweet peas and delicate vines are always a safe bet). These three elements always go a long way in helping me to achieve the romantic, organic, and streamlined designs that have become my style. They also allow for more flexibility with the final shape of your arrangement, which is something I’m always looking specifically to have control over.
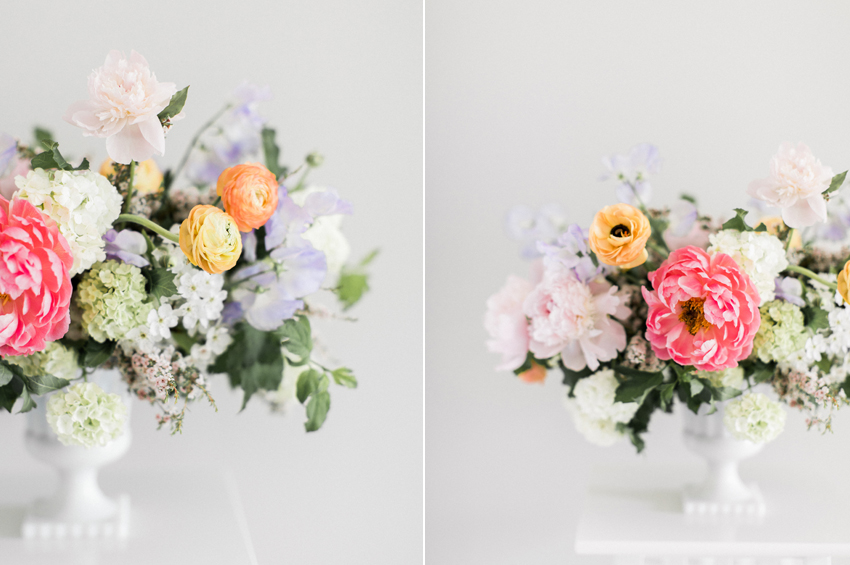
3. When I first started designing flowers I remember always cutting my flower stems very short and feeling like everything had to be very tightly compacted into the vase. And in some cases, this style and approach works pending your desired look. But since my desired look is similar to how you would appreciate flowers and foliage in nature, I try to cognizant of that same aesthetic with my designs. Take a mature hydrangea bush: some heads bow low to the ground, some are in different blooming stages than others, the leaves compliment the flowers, some branches stick straight up into the air. Nothing feels forced or out of place and there’s a sense of intentionality in nature. I love that so much! Try to do like nature and mimic how things naturally grow outside.
4. While there’s not a right and wrong order to design in, I like to start with my greens whether I’m building a bouquet or a centerpiece. The greens are always my base or my foundation, flowers added to the greens second. I used to design the other way around and now looking back can see how this shift in my approach drastically changed the final look of my designs. I like to start with my greens, add in my focal flowers next, accent the focal flowers with things like spray roses, ranunculus, or other medium size head blooms, and then finally, add in my favorites like sweet peas, vines, and other smaller interesting pieces. Again, I don’t always design this way but most of the time this approach has the most seamless unfolding and natural look.
And if you love content like this and want to sign up for my bimonthly newsletters you can do so here! You can also see what last week’s newsletter looked like, which is how many of the newsletters I send out look. I share this so you can catch the first (of many) videos I’ll be sending this year, and also so you can familiarize yourself with my content and determine if these are the kinds of messages you’d love to receive in the future!
Secondly, if flower designing and styling is something you want to seriously consider in your business or it’s a current service you offer and want to build or improve on, I’d be delighted to connect with you and discuss a potential private workshop opportunity. I have limited dates left for 2018 and look forward to working intentionally with the next small handful of women this summer. You can email me at [email protected] for more.
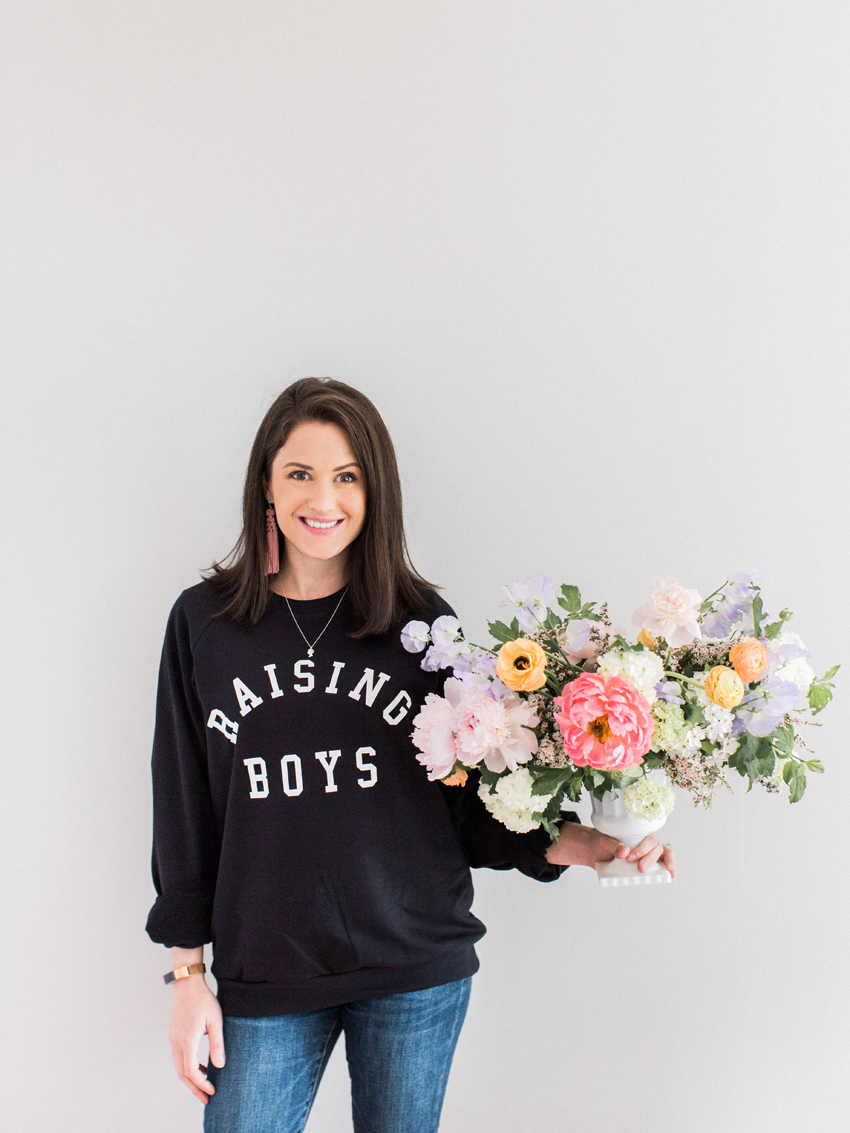
Lastly, on a personal note, I haven’t blogged or shared much about my second pregnancy but we are just about halfway through now! I’ve been in the thick of the joys of preparing for a second baby with tasks like clearing out a room for the new nursery, teaching Lachlan about babies and what it means to have a brother (!), and of course enjoying the many changes with my body. It’s been a sweet season in our home and family. I’ve also been wearing my Raising Boys sweater probably too often but it’s that comfortable and I wear it with such pride. You can snag your own at Ford & Wyatt. Thanks to Samantha James Photography for the photos used throughout this post!
Xoxo