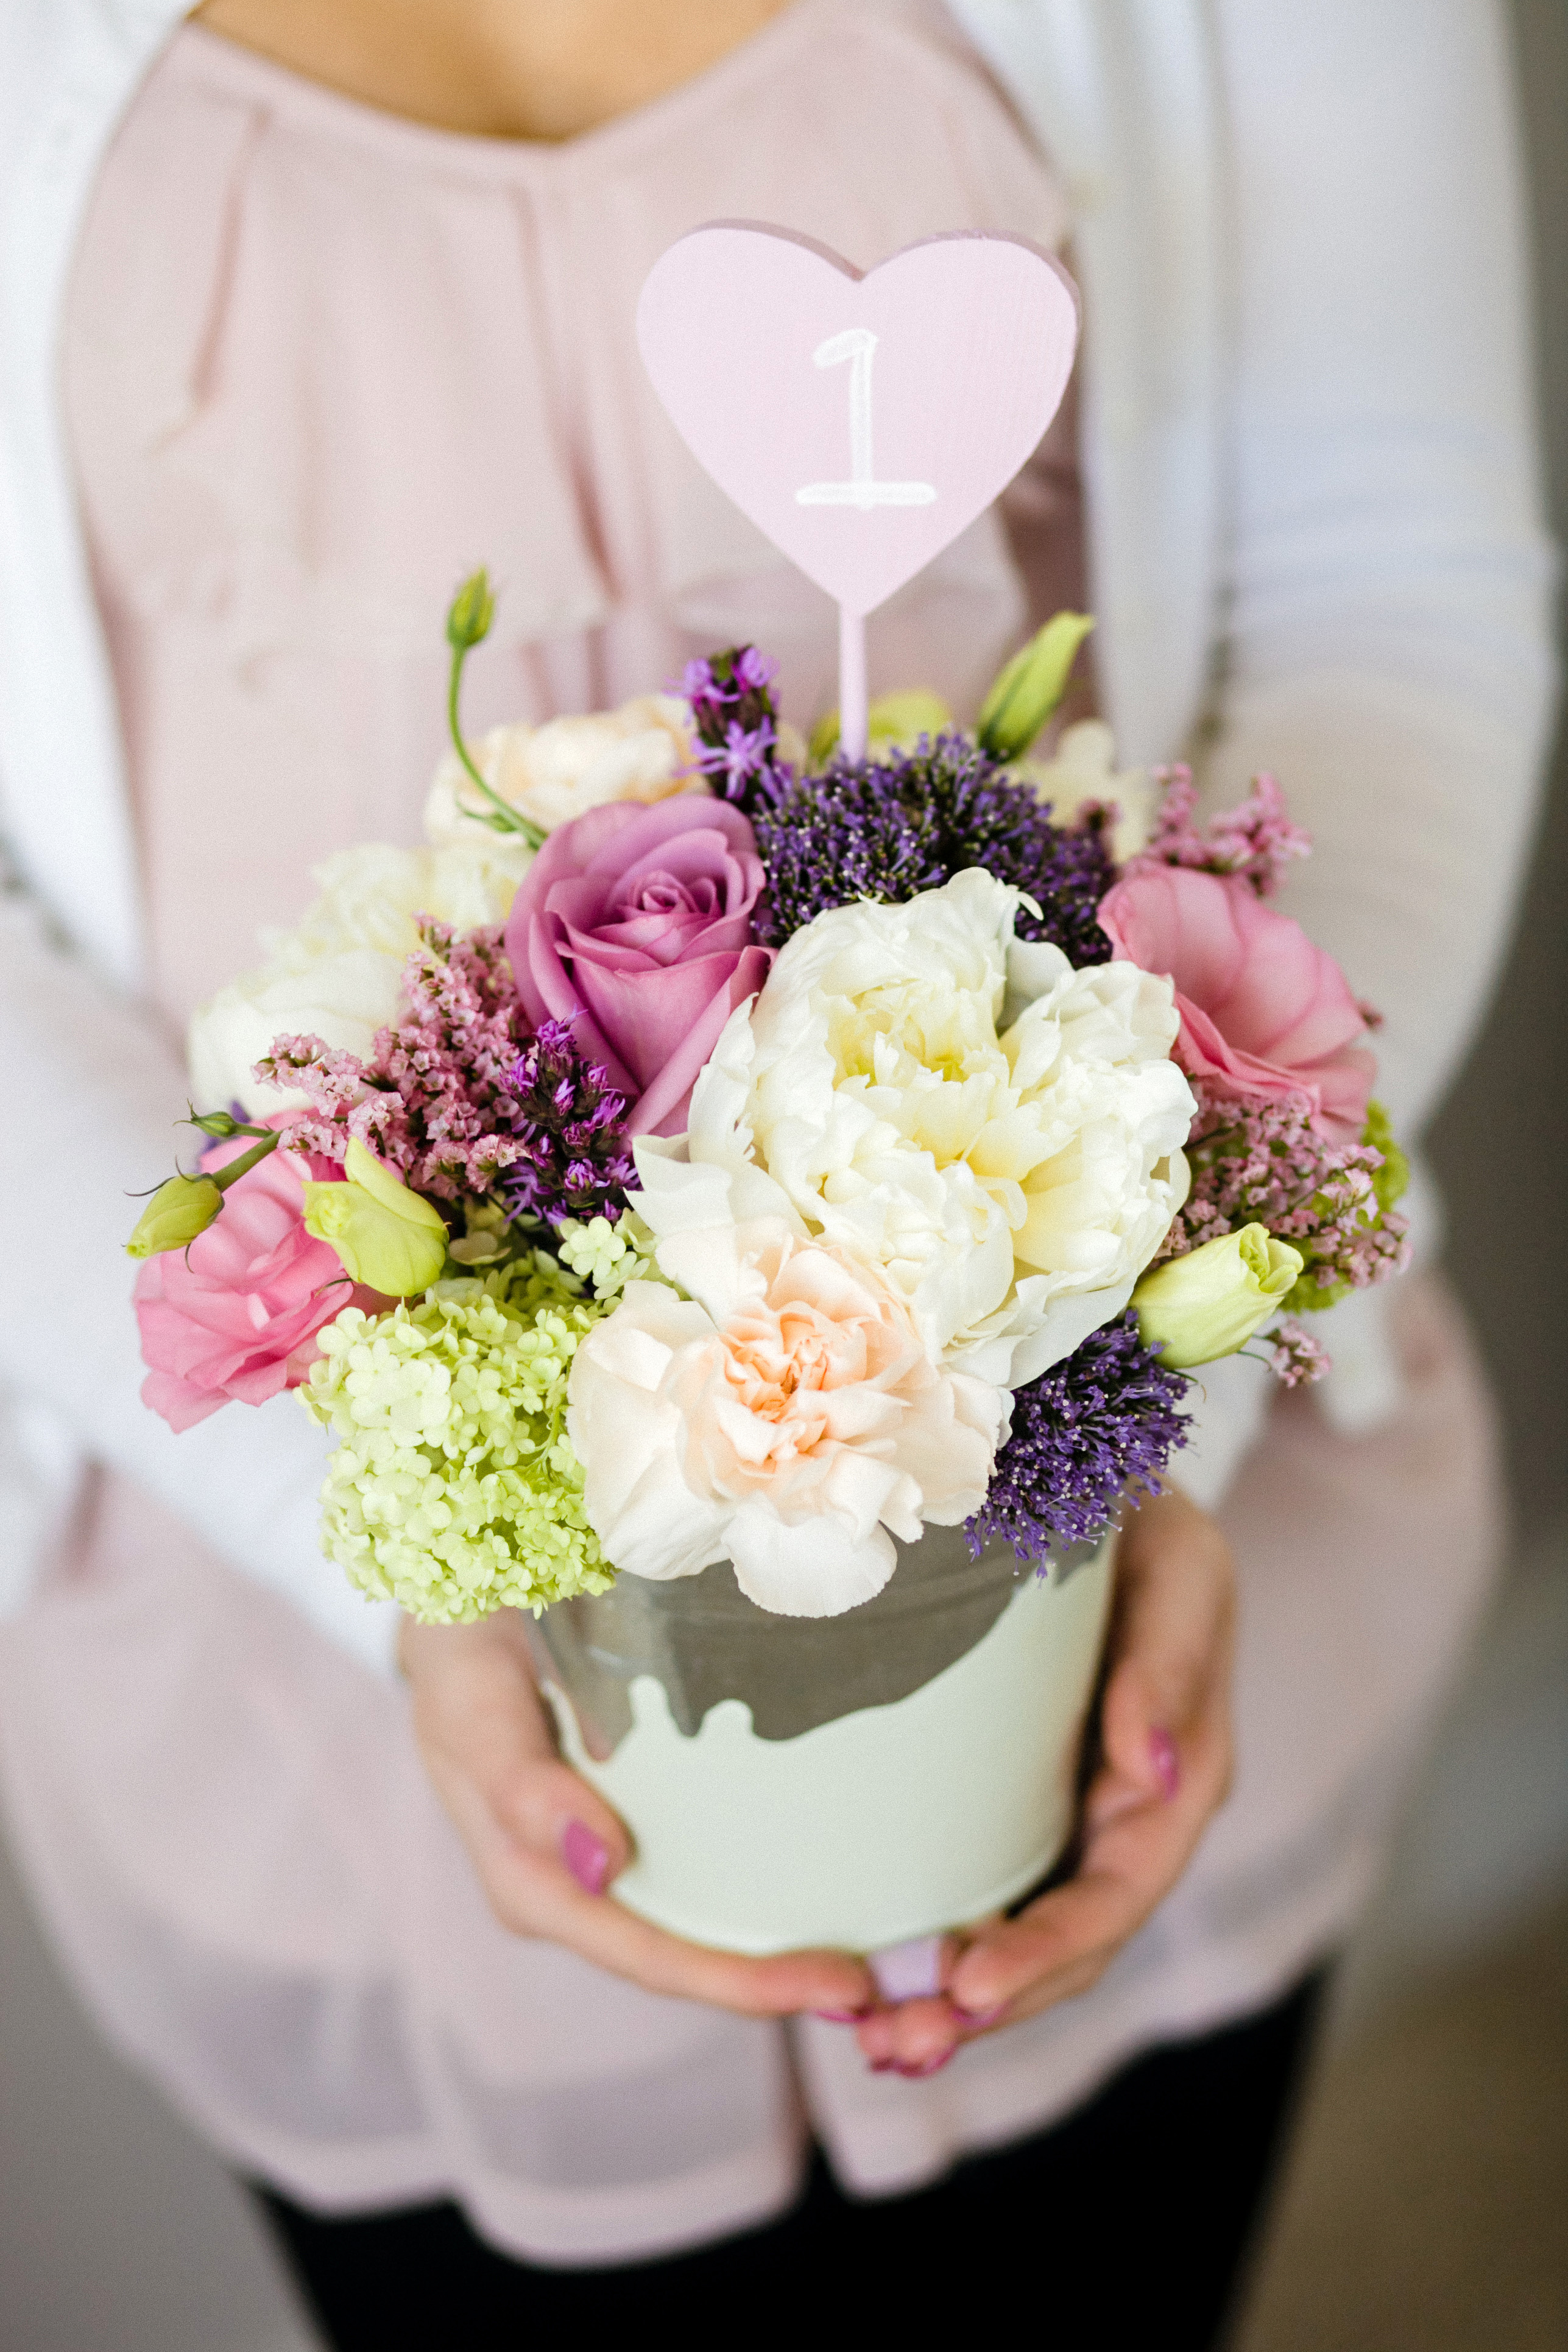

Happy Wednesday, everyone. I’m so thrilled to share this homemade painted-dipped centerpiece project with you!
Pretty cute if I do say so myself. I originally wanted to DIY painted-dipped terra cotta planters with succulents in them but then I found that someone beat me to it. So this DIY was clearly the next best thing, especially since it involves pretty flowers, something I’ve been doing a lot more of recently. So without further ado, let’s do this.
{Step 1} Gather all of your supplies. You’ll need enough flowers to fill your vase or vessel and you’ll want a variation in sizes and textures. I always overshoot on the amount of flowers I will need because flowers can be deceiving in terms of how much space they take up :) You’ll also need flower cutters, Oasis foam, galvanized tins in various sizes (make sure they are small enough to ‘dip’ in your paint source), and outdoor paint to coat the bottoms of your tins with. If you want to make the cute little heart-shaped table number you’ll need to grab one from Hobby Lobby in the wood section :) I used acrylic paint to turn it pink.
{Step 2} Making sure your work space is covered (like really covered), you’ll want to dip the bottoms of your tins in your paint then hang it over the can while excess paint drips off. I used leftover paint from our guest bedroom because the paint can was wide enough for the galvanized tins I bought, but I am sure you could pour bottles of outdoor paint into a plastic dish that’s wide enough to accommodate your vessels you’re wanting to dip. Once the dripping paint subsides, you’ll want to flip over your tin and let it hang upside down for a few minutes to get that dripping look going ‘up’ the sides of the tin.
Once you get a dripping pattern you want you’ll flip the tin back so it’s right side up and you can let it dry. Be aware the paint goes onto the tins pretty thick. It was a good thing I dipped my tins the night before I was set to make these centerpieces as a test to see how long they would dry. To let them dry quicker without having the paint pool around the base of the tin, you can rig a little hanging set up with a rod/stick/golf club (I used a golf club ha!) hanging across two stacks of books or equal sized containers. Just string the tins by their handles onto the stick as they hang over your covered surface and let them set overnight.
{Step 3} Clean your flowers. Remove thorns, yucky guard petals and leaves you won’t see in the arrangement. While your cleaning your flowers, you’ll want to soak your Oasis in cold water, making sure you let it sink completely on its own.
{Step 4} Cut your soaked Oasis to fit your tin and from there you can start creating your arrangement. I like to start by filling in the base of my container where the opening is, and from there continue to add flowers, assessing each placement as I go. Using different sizes and textures of flowers and fillers makes the centerpiece visually interesting and allows the finished product to look a bit more cohesive. But hey these are all just my opinions and not the right or wrong way to do things :)
{Step 5} Drool a little over your peonies.
{Step 6} And start making your second tin.
{Step 7} Paint your table number on your wooden heart. I used acrylic paint for the pink and white.
{Step 8} And then pop your wooden table number into the arrangements, anchoring it with the Oasis and voila! Cute as a bug in a rug! I also happen to enjoy these arrangements without the table number in them; the smallest one looked super cute on the guest room nightstand that my parents enjoyed when they were in town for Mother’s Day! Now that the flowers are long gone, we will be using the small tin to plant herbs in on our kitchen windowsill. What do you guys think of these?
Would you ever make your own centerpiece containers like this? Thank you to Kelly Braman for the photos!